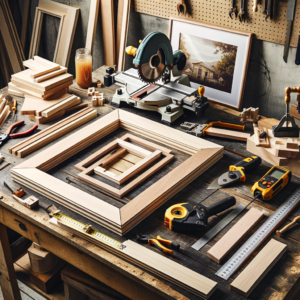
DIY Picture Frames
Creating wooden picture frames is an excellent way to showcase your favorite memories and artistic skills. This guide provides a detailed, step-by-step approach to building your own wooden picture frames, perfect for those with an intermediate grasp of woodworking. It’s a great weekend project that combines creativity with the satisfaction of DIY craftsmanship.
Materials and Tools Needed
Materials:
- Hardwood (like Oak or Maple) or softwood (like Pine)
- Wood glue
- Sandpaper (various grits)
- Wood finish (oil, lacquer, or paint)
- Glass pane cut to size
- Backing board
- Picture frame tabs or small nails
Tools:
- Miter saw or hand saw with a miter box
- Tape measure
- Clamps
- Router with a rabbet bit (optional)
- Hammer or tab gun
Step-by-Step Guide to Building Wooden Picture Frames
Step 1: Design and Measurements
- Decide the dimensions of your frame based on the size of the photograph or artwork.
- Calculate the lengths of frame sides, allowing extra length for the miter cuts.
Step 2: Cutting the Frame Pieces
- Cut the wood into four pieces, each with 45-degree angles at both ends (miter cuts).
- Ensure cuts are precise for tight joins.
Step 3: Creating the Rabbet
- Use a router with a rabbet bit to create a recess along the back inside edge of each frame piece. This will hold the glass, picture, and backing.
- If you don’t have a router, you can attach a thin strip of wood to achieve the same effect.
Step 4: Dry Fit and Assembly
- Assemble the frame without glue to ensure all pieces fit snugly.
- Apply wood glue to each joint, reassemble the frame, and clamp until the glue dries.
- Wipe away any excess glue immediately.
Step 5: Sanding and Finishing
- Sand the frame starting with a coarse grit and moving to a fine grit for a smooth finish.
- Apply your chosen finish (oil, lacquer, or paint) and allow it to dry.
Step 6: Installing the Glass and Picture
- Clean the glass pane and place it in the frame.
- Insert your picture and backing board.
- Secure everything in place with picture frame tabs or small nails.
Tips for Success
- Use a high-quality wood that’s free of knots for the best finish.
- Be meticulous with measurements and cuts for a professional look.
- Experiment with different finishes to match your decor or artwork.
FAQs
- What’s the best wood for picture frames? Hardwoods like oak or maple are durable and have a fine grain, while softwoods like pine are easier to work with.
- Can I make a frame without a router? Yes, you can attach a thin strip of wood to the inside edge to create a rabbet.
- How do I choose the right finish? Consider the room’s decor where the frame will be displayed and the type of wood you’re using.
Conclusion
Building wooden picture frames is a rewarding project that enhances any photograph or artwork. With patience and attention to detail, you can create beautiful, bespoke frames that reflect your personal style and craftsmanship.
Recommended Resources
- Fine Woodworking Techniques – for advanced woodworking tips and tricks.
- Choosing Finishes for Wood – for insights on selecting the best finishes for your project.
- DIY Picture Framing – for more creative framing ideas and instructions.
Embrace the creativity and precision that comes with woodworking, and enjoy the process of bringing your picture frames to life.