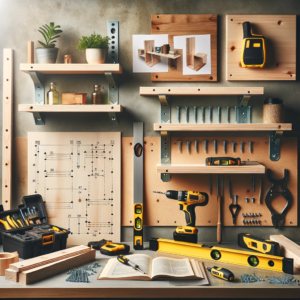
Floating Shelves
Floating shelves are a sleek and modern way to add storage and display space to any room. These shelves appear to “float” on the wall without visible supports, creating a clean and minimalist look. This guide is designed for beginners in woodworking, detailing the process of creating your own floating shelves.
Materials and Tools Needed
Materials:
- Wooden boards (length and width as per your requirement)
- Heavy-duty shelf brackets
- Screws and wall anchors
- Wood glue
- Sandpaper (medium and fine grit)
- Wood stain or paint (optional)
Tools:
- Drill with various drill bits
- Screwdriver
- Level
- Stud finder
- Tape measure
- Pencil
- Saw (if cutting boards to size)
- Paintbrush or cloth (for stain or paint)
Step-by-Step Guide to Building Floating Shelves
Step 1: Planning and Preparation
- Measure and mark the wall where you want to install the shelves.
- Use a stud finder to locate the studs in the wall for a secure installation.
- Decide on the length and width of the shelves and cut your wooden boards accordingly, if necessary.
Step 2: Preparing the Shelf Brackets
- Purchase heavy-duty shelf brackets that can support the weight of the shelf and its contents.
- Mark the drilling points on the wall using the brackets as a guide, ensuring they are level.
Step 3: Attaching the Brackets to the Wall
- Drill pilot holes at the marked points.
- If hitting a stud, screw the brackets directly into it. If not, use wall anchors for support.
- Attach the brackets to the wall, making sure they are level.
Step 4: Preparing the Wooden Boards
- Sand the wooden boards with medium grit sandpaper, followed by fine grit for a smooth finish.
- If desired, apply wood stain or paint to the boards and let them dry completely.
Step 5: Attaching the Shelves to the Brackets
- Place the wooden boards onto the brackets.
- Secure the shelves to the brackets from below using screws. This step may vary depending on the bracket type.
- Ensure the shelves are firmly attached and level.
Tips for Success
- Always use a level when installing brackets to ensure your shelves are not tilted.
- Choose brackets that can support the weight of the shelf and the items you plan to place on it.
- Sand and finish your shelves before installation for a cleaner look.
FAQs
- How do I choose the right wood for floating shelves? Consider the weight of items you’ll place on the shelves. Hardwoods like oak or maple are strong and durable, while softer woods like pine are suitable for lighter items.
- Can floating shelves hold heavy items? Yes, but ensure you use heavy-duty brackets and properly anchor them to wall studs.
- Is it necessary to stain or paint the shelves? It’s optional but recommended for aesthetic appeal and to protect the wood.
Conclusion
Building floating shelves is a straightforward project that adds both functionality and style to your home. With basic tools and materials, you can create custom shelves that fit perfectly into your space.
Recommended Resources
- Beginner’s Guide to Woodworking – for more basic woodworking projects and tips.
- Choosing the Right Tools for DIY Projects – for advice on selecting the best tools.
- Home Décor and Improvement Ideas – for inspiration on using floating shelves in home decoration.
Whether you’re a beginner or have some experience, building floating shelves is a gratifying project that enhances your woodworking skills and your home’s aesthetic.