Every skilled woodworker has a collection of mistakes that became valuable lessons. Crooked cuts, gaps in joints, warped boards, and poor finishes usually happen because a basic step was overlooked, not because someone lacked ability. Most shop problems come from rushing past small checks that only take a minute.
Woodworking rewards careful thinking more than speed. A small shop with dependable tools can produce excellent work when the fundamentals are followed every time. Expensive equipment cannot make up for poor measuring, bad lumber, weak layout, or careless assembly.
Good habits also save money. A ruined sheet of plywood, a twisted tabletop, or a blotchy finish can cost more than a new blade, a better square, or a few practice boards. Learning why each step matters makes those habits easier to repeat when the shop is busy, cold, hot, dusty, or short on space.
1. Choose Straight Lumber Before You Begin
The quality of a project often depends on the wood selected before any cutting starts. A board with a bow, twist, or cup may seem manageable in the aisle, but those defects usually create problems throughout the build. A twisted board can throw off a cabinet frame, make a tabletop rock, or leave a door that never closes right.
Hold each board at eye level and sight along its length. Examine every face and edge for warping. Also look for cracks, loose knots, damaged corners, checks near the ends, or signs of moisture. A cheap board is not cheap if half of it ends up in the scrap pile.
Even straight boards benefit from sitting in the shop for a few days before use. Letting the wood adjust to the shop’s humidity reduces unexpected movement after pieces have been cut. This matters more in garages, sheds, and basements where temperature and moisture can swing a lot between morning and night.

2. Measure Accurately and Mark Clearly
Many cutting errors begin long before the saw is turned on. An unclear pencil mark or measuring from the wrong edge often causes parts to be the wrong size. One small mistake can spread through a whole project if every later part is measured from the bad piece.
Use a sharp pencil, marking knife, or fine mechanical pencil so the line is easy to follow. Measure from the same reference edge throughout the project to keep every part consistent. Mark waste sides clearly so the blade removes the right material.
Before making an important cut, pause and confirm the board is facing the correct direction and the measurement is still correct. This is especially important with face frames, shelves, drawer parts, and pieces with dados or pocket holes. Cutting the mirror image of a part is one of the fastest ways to waste good wood.
When identical parts are needed, use the first completed piece as a template or install a stop block. A stop block on a miter saw or table saw sled gives better repeat cuts than measuring each part again. The trade-off is setup time, but that time is usually less than fixing uneven legs or mismatched rails.
3. Leave the Layout Line Until Final Fitting
The layout line represents the finished dimension. Cutting directly through it often leaves the workpiece slightly too small. Once a board is short, there is no clean way to stretch it back.
Cut just outside the line, then trim, plane, or sand to the exact size. This approach gives you room to correct small inaccuracies and creates better-fitting joints. It is slower than trying to nail the cut in one pass, but it protects important parts.
Practice on scrap wood to understand exactly where your saw blade cuts in relation to the layout line. A table saw blade, circular saw blade, and handsaw all remove material differently. Learning that kerf prevents the common mistake of cutting on the wrong side of the mark.
4. Keep Cutting Tools Sharp
Sharp blades require less effort and produce cleaner cuts. Dull tools increase the chance of slipping, burning the wood, or creating rough edges. They also make small tools work harder, which can shorten motor life and create unsafe cuts.
If cutting becomes difficult or burn marks appear, inspect the blade. Sometimes cleaning away built-up resin restores performance, while other times sharpening or replacing the blade is necessary. A dirty blade can act dull even when the teeth still have life left.
Good maintenance saves both time and material because accurate cuts reduce wasted lumber and difficult repairs. A new blade costs money, but ruined plywood, chipped hardwood, or a burned cabinet side often costs more. Basic tool safety guidance from OSHA workplace safety resources is also worth reviewing when power tools are used often.
5. Establish a Square Starting Point
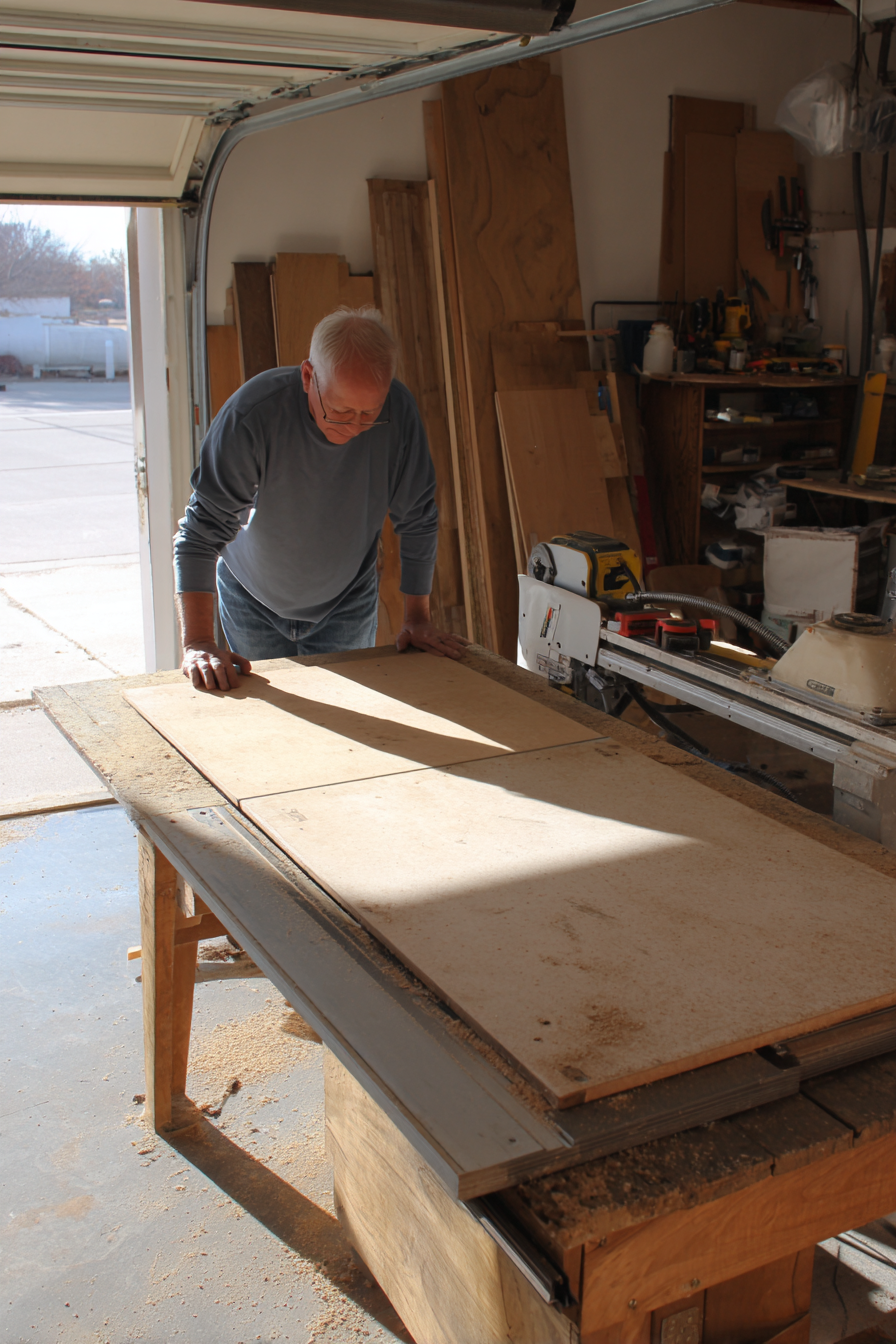
Every project depends on a reliable reference. If the first corner is not square, later measurements become less trustworthy. A frame that starts out slightly off can turn into doors that bind, drawers that rack, or shelves with uneven gaps.
Use a combination square or speed square to check your work regularly. Measuring diagonally across rectangular assemblies provides another useful test. Matching diagonal measurements usually indicate the assembly is square.
Correcting small alignment issues early is much easier than rebuilding an assembly after the glue has cured. Check square before glue, during clamping, and again after clamps are tightened. Clamp pressure can pull a frame out of square even when it looked right during dry fitting.
6. Dry Fit Before Applying Glue
Glue introduces time pressure. Once it begins curing, adjustments become much harder. A joint that seemed simple during cutting can become stressful when the glue bottle is open and clamps are sliding around.
Assemble every part without glue first. Check that joints fit properly, clamps reach where they should, and every piece is correctly oriented. Label similar parts with pencil marks if needed to avoid confusion during final assembly.
A dry fit also reveals whether additional clamps, cauls, shims, or a helper are needed before the permanent assembly begins. Large panels, long face frames, and cabinet boxes are much easier when the order of work is already clear.
7. Prepare Before Starting a Glue-Up
Successful glue-ups depend on preparation rather than speed. Arrange clamps, keep a damp cloth nearby, and plan the assembly sequence before opening the glue bottle. Set parts on painter’s pyramids, scrap blocks, or a clean bench so they do not pick up grit.
Apply glue evenly instead of using excessive amounts, and follow the manufacturer’s recommended working time. Too little glue can leave a weak joint. Too much glue creates squeeze-out that can block stain or require extra scraping later.
Working methodically reduces mistakes caused by rushing. In a hot garage, glue can set faster than expected. In a cold shop, it may cure slower. Weather, shop temperature, and part size all affect how much time you really have.
8. Apply the Right Amount of Clamp Pressure
More pressure does not always produce a stronger joint. Excessive tightening can force glue out of the joint or shift parts out of alignment. It can also bow thin panels, dent softwood, or leave clamp marks that need extra sanding.
Tighten clamps only enough to close the joint evenly. Check alignment after each clamp is adjusted so corrections can be made before the glue hardens. Use scrap pads under clamp jaws when working with pine, cedar, or finished faces.
On panel glue-ups, alternate clamps above and below the panel to help keep the surface flat. The trade-off is using more clamps, but it can prevent a bowed panel that takes hours to flatten later.
9. Sand in Gradual Steps
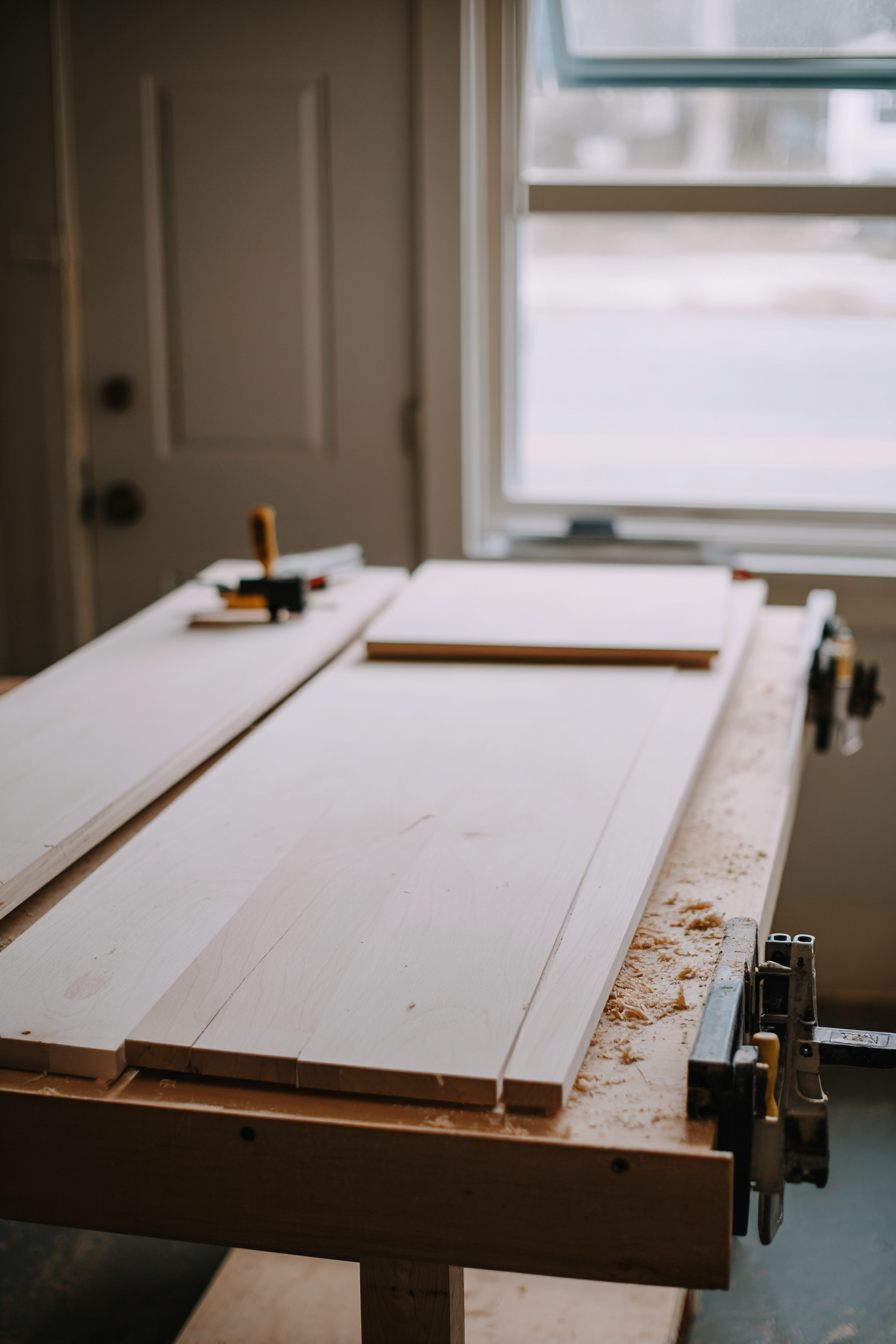
Skipping directly from coarse to very fine sandpaper leaves scratches that often become visible only after finish is applied. The surface may feel smooth by hand, but stain and clear coat can expose every deep scratch.
Progress through each grit in order, removing the scratches left by the previous one. A common path is 80, 120, 150, and 180 grit for many projects, though hardwood, veneer, and finish type may call for changes. Do not press hard enough to create dips or swirl marks.
Clean away dust between grits and inspect the surface under good lighting. Raking light from the side shows scratches better than overhead light. Take extra care around corners so they remain crisp unless a rounded edge is part of the design.
10. Test Every Finish on Scrap Wood
Different boards can absorb stain and finish differently, even when they come from the same stack. End grain, soft areas, and earlier sanding mistakes can all change the final color. Testing keeps the finished project from becoming a surprise.
Use leftover scraps to test the complete finishing process, including sanding, stain, sealer, and topcoat. Comparing the sample under the same lighting where the project will be used helps avoid unexpected results. Shop lights can make a finish look different than kitchen light or sunlight through a window.
Follow the product directions and give each coat proper drying time. Helpful finishing information from Minwax wood finishing resources can help match stains, sealers, and topcoats to the kind of work being done.
11. Allow for Natural Wood Movement
Wood expands and contracts as humidity changes. Ignoring this behavior may lead to cracked panels, split tabletops, or doors that stick part of the year. Wide boards move more across their width than along their length.
Design assemblies so wider pieces have room to move. Tabletops need fasteners that allow seasonal change. Raised panels need space inside their frames. Outdoor projects require even greater attention because sun, rain, and dry weather all pull the wood in different directions.
The mistake is often locking everything down too tightly. Screws, glue, and rigid frames feel strong at first, but wood still moves. A strong build gives the wood a safe place to go instead of forcing it to crack.
12. Organize the Workspace
An organized shop improves both safety and efficiency. Searching for tools while supporting large boards increases distractions and unnecessary risk. Clutter also makes it harder to see offcuts, cords, and sharp edges.
Keep measuring tools together, clear unnecessary clutter, and set aside a protected space for completed parts. Store small hardware in labeled containers. Keep glue, pencils, bits, blades, and squares where they can be reached without moving half the shop.
Good organization helps maintain focus on the task rather than the surroundings. It does not require fancy cabinets. A clean bench, a few hooks, and a habit of putting tools back can make a small garage shop work much better.
13. Make Safety a Routine
Protective equipment should become a habit rather than an afterthought. The wrong time to look for safety glasses is after the saw is already running. Keep the gear close enough that using it feels automatic.
- Wear safety glasses whenever machinery is operating.
- Use hearing protection around loud tools.
- Wear a dust mask or respirator during sanding and heavy cutting.
- Avoid loose clothing that could contact moving parts.
Good lighting also improves safety by making layout lines, blade positions, and potential hazards easier to see. Push sticks, featherboards, and stable outfeed support are simple tools that reduce risk without slowing the work much.
14. Practice on Scrap Before Working on the Project
Trying an unfamiliar technique on finished material adds unnecessary risk. Practice with scrap that matches the project’s thickness. Thin plywood, thick hardwood, and soft pine all behave differently under a blade, router bit, or drill bit.
Adjust blade height, fence position, router depth, or drill stops until the results are consistent before cutting the actual workpiece. This is especially useful for dados, rabbets, hinge mortises, pocket holes, and edge profiles.
This practice builds confidence while reducing costly mistakes. Scrap is not waste when it prevents damage to the real part. A five-minute test cut can save a cabinet side, a door rail, or an expensive hardwood board.
15. Pause Whenever Something Seems Incorrect
Experienced woodworkers often stop to investigate when something feels unusual. That habit prevents many major errors. A strange sound, heavy vibration, burning smell, or board that suddenly binds is a warning, not an inconvenience.
If a measurement seems inconsistent, a joint looks uneven, or a machine sounds different, stop and check the cause. Look for a loose fence, dull blade, hidden knot, slipping clamp, or a part flipped the wrong way.
A few minutes of investigation can save hours of rebuilding and wasted material. The trade-off is slowing down, but the cost of pushing ahead is usually higher. Most bad cuts happen after the first sign that something was off.
Develop Reliable Shop Habits
Simple routines improve consistency. Return tools to the same location, inspect blades before use, empty dust collection regularly, and record successful settings or jig dimensions in a notebook. Small notes are especially useful when repeating shelves, drawers, cabinet parts, or trim details months later.
These habits reduce repeated mistakes and make future projects more efficient. They also help when working in short sessions. If the shop is shared with cars, storage boxes, or yard tools, a clear routine makes it easier to stop and restart without losing track.
A dependable habit does not need to be complicated. Sweep before finishing. Check square before glue. Label parts before moving them. Keep sharp tools sharp. These small actions keep the project from depending on memory alone.
Learn From Every Project
No woodworker avoids mistakes forever. The important lesson is to identify what caused the problem and adjust the process next time. A gap, bad cut, or blotchy finish should point back to a step that can be improved.
Write down what worked and what failed while it is still fresh. Note the blade used, sanding grit, finish schedule, clamp setup, or measurement that caused trouble. These notes become more useful than guesses later.
Each completed project adds experience. Over time, careful observation and steady practice develop dependable skills that matter far more than owning additional tools.
Strong Fundamentals Build Lasting Skills
Reliable woodworking comes from repeatable habits rather than expensive equipment. Selecting good lumber, measuring carefully, checking for square, practicing on scrap, and working patiently create better results with every project.
By understanding not only what to do but also why each step matters, beginners build confidence, improve accuracy, reduce wasted material, and develop the habits that experienced woodworkers rely on throughout their careers.